Categories
 Die Cutting Machines
 Embroidery Machine
 Printer & Machine Parts
- Uncategorized
 Accessories And Parts
 Acrylic Awards
 Art Materials
 Award Frames
 Award Materials
 Awards Leaf
 Crystal Awards
 Gift Items And Souvenir
 Heat Press Materials
 Heat Press Machines
 Machines & Equipment
 Metal Awards
 Printer Ink
 Printers
 Printing Materials
 Printing Paper
 Screen Printing Ink
 Sheetings
 Signage
 Trophy
 Wood Award Plaque
Top rated products
-
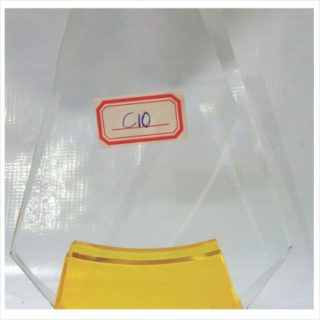 C10 glass award
₦10,000.00
-
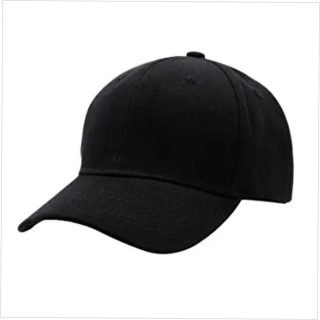 Plain Black Cap
₦1,500.00
-
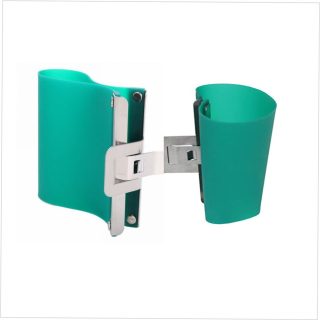 Mug Clamp
₦3,500.00 – ₦4,000.00
-
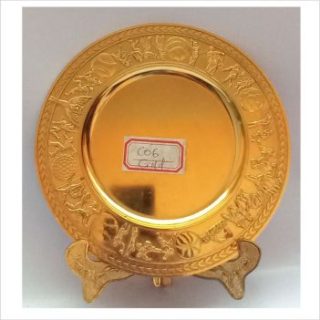 C06 Metal Award
₦8,000.00
-
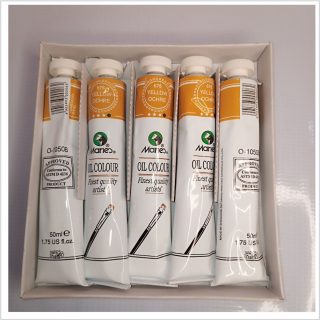 set 5 yellow orche marie's
₦1,300.00
POPULAR TAG
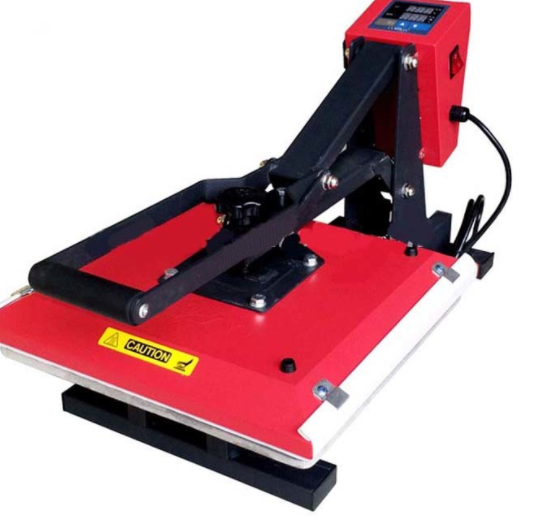
Are you tired of limited options when it comes to printing designs on various surfaces? Say hello to heat presser machines, the ultimate tool for unleashing your creativity and expanding your printing capabilities. We will explore the uses and steps in using these remarkable heat presser machines, so let’s dive in and unlock endless possibilities in printing!
USES OF HEAT PRESSER MACHINES:
1. CUSTOM APPAREL: Whether you’re a fashion enthusiast, a small business owner, or simply want to add a personal touch to your wardrobe, a heat presser machine is the perfect solution. Create unique designs on t-shirts, hoodies, caps, and more with ease.
2. PROMOTIONAL ITEMS: Adding your logo or artwork to promotional items has never been easier. From mugs and mouse pads to key chains and phone cases, a heat presser machine allows you to create professional-looking products for your business or events.
3. HOME DECOR: Personalize your living spaces by printing on pillows, blankets, curtains, and even canvas wall art. Transform plain items into one-of-a-kind masterpieces that reflect your style and personality.
4. SUBLIMATION PRINTING: Heat presser machines are also compatible with sublimation printing. With the right heat press, you can transfer stunning, full-color designs onto polyester-based substrates such as shirts, mugs, puzzles, and more.
STEP-BY-STEP GUIDE TO USING A HEAT PRESSER MACHINE:
STEP 1: DESIGN CREATION AND PRINTING
Create or select a design using graphic design software. Make sure to mirror the design if necessary (especially for text) since it will be flipped during the transfer process. Print the design using a compatible printer and transfer paper.
STEP 2: PREPARING THE HEAT PRESSER MACHINE
Power up your heat presser machine and allow it to reach the desired temperature, typically indicated on the manual. Adjust the pressure according to the thickness of the material you’re printing on.
STEP 3: PLACEMENT AND ALIGNMENT
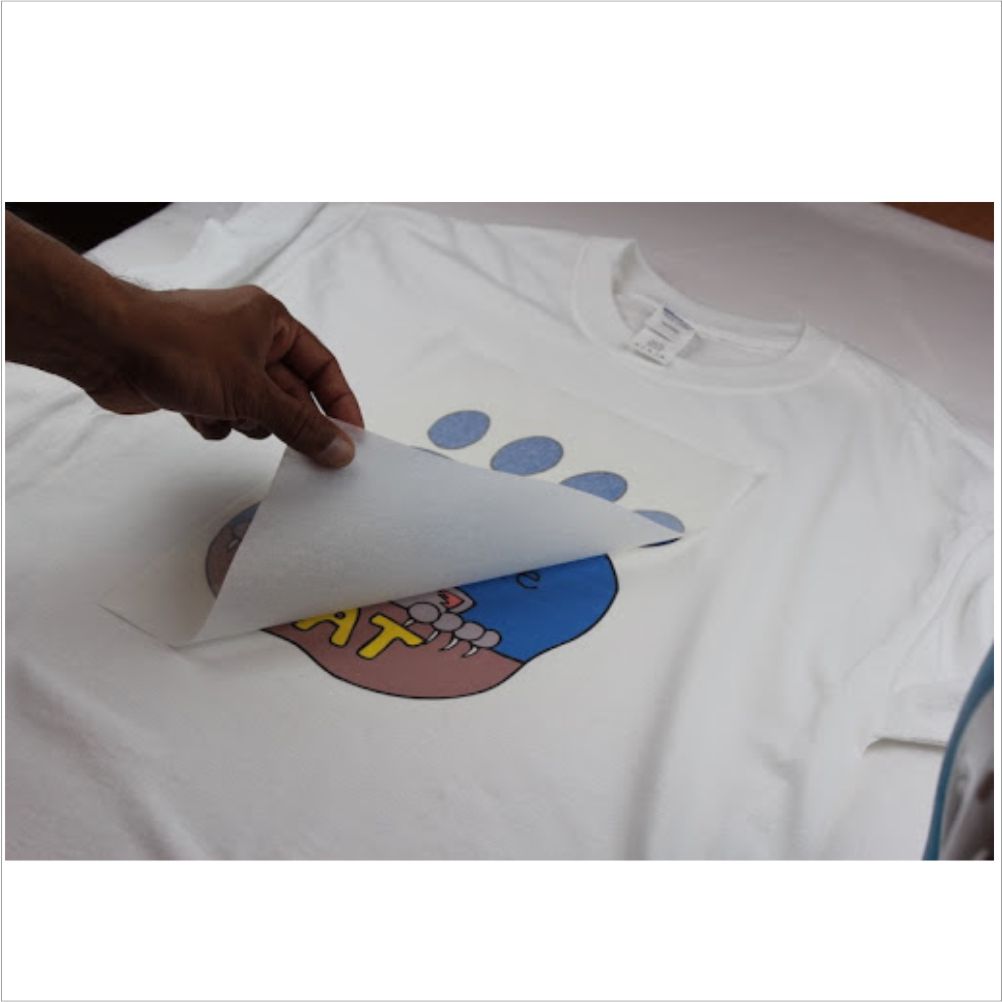
Position the item to be printed on the machine’s base plate, ensuring a flat and even surface. Place the printed transfer paper, ensuring the design is facing down onto the fabric or substrate. Align the design precisely where you want it.


Leave a Reply